Creating a sub-circuit
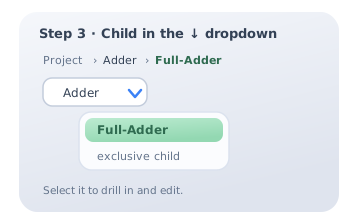
A sub-circuit packages a circuit into a reusable block, like a custom chip. You build a normal circuit whose Input and Output pins become the block's terminals, then turn it into a sub-circuit of a parent with Circuit → New sub-circuit, or by right-clicking a tab and choosing Insert. The sub-circuit becomes an exclusive child of that parent, listed in the parent tab's ↓ dropdown. Select it there to drill in and edit it; a breadcrumb shows Project → Circuit → Sub-circuit so you always know where you are.
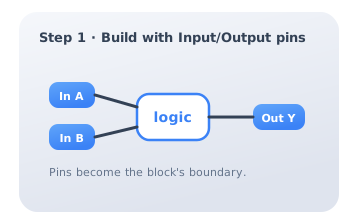
Step 1 — Build it with Input/Output pins
Design the circuit you want to reuse and give it Input and Output pins for every signal that should cross its boundary. These pins are exactly what becomes the sub-circuit's external terminals: each Input turns into an input pin on the block, each Output into an output pin. Anything without a pin stays hidden inside.
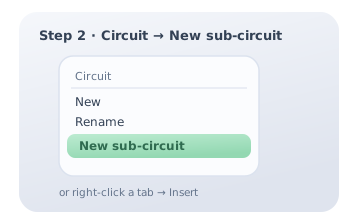
Step 2 — Circuit → New sub-circuit
With the parent circuit active, open the Circuit menu and choose New sub-circuit; name it and the parent gains a child block. Alternatively, right-click a circuit tab and pick Insert to attach it there. Either way the child is created from your pinned design and bound to that one parent.
Step 3 — Drill in from the ↓ dropdown
The parent tab now shows a ↓ chevron; open it to see the sub-circuit listed as an exclusive child. Select the child to drill in and edit it as the active circuit. The breadcrumb reads Project → Circuit → Sub-circuit, and clicking an ancestor navigates back out. While you are inside a sub-circuit, Insert is disabled — a sub-circuit cannot itself insert another circuit.