Creating a circuit
A project holds one or more circuits, each shown as a tab along the circuit bar. You add a circuit with the + button on that bar, or through the menu Circuit → New. Give it a name — non-empty and unique within the project — and a fresh tab opens onto an empty canvas ready for parts. Switch between circuits by clicking their tabs.
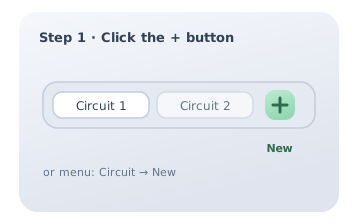
Step 1 — Click the + button
Find the circuit bar, the row of tabs that lists the circuits in your project. At its end sits a + button. Click it to start a new circuit. The same action is available from the top menu under Circuit → New if you prefer the menu route.
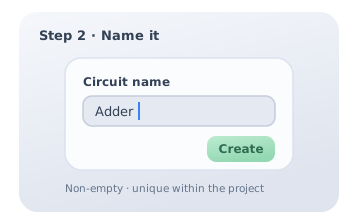
Step 2 — Name it
A dialog asks for the circuit's name. It must not be empty and must be unique among the circuits already in the project, so the tabs stay unambiguous. Type a clear, descriptive name — for example, Adder — and confirm. A duplicate or blank name is rejected until you fix it.
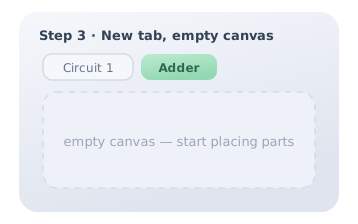
Step 3 — A new tab, an empty canvas
The circuit appears as a fresh tab, already selected, over a blank canvas. From here you drag parts from the components panel and wire them together. Your other circuits stay one click away on their own tabs, and everything is saved together as part of the same project.